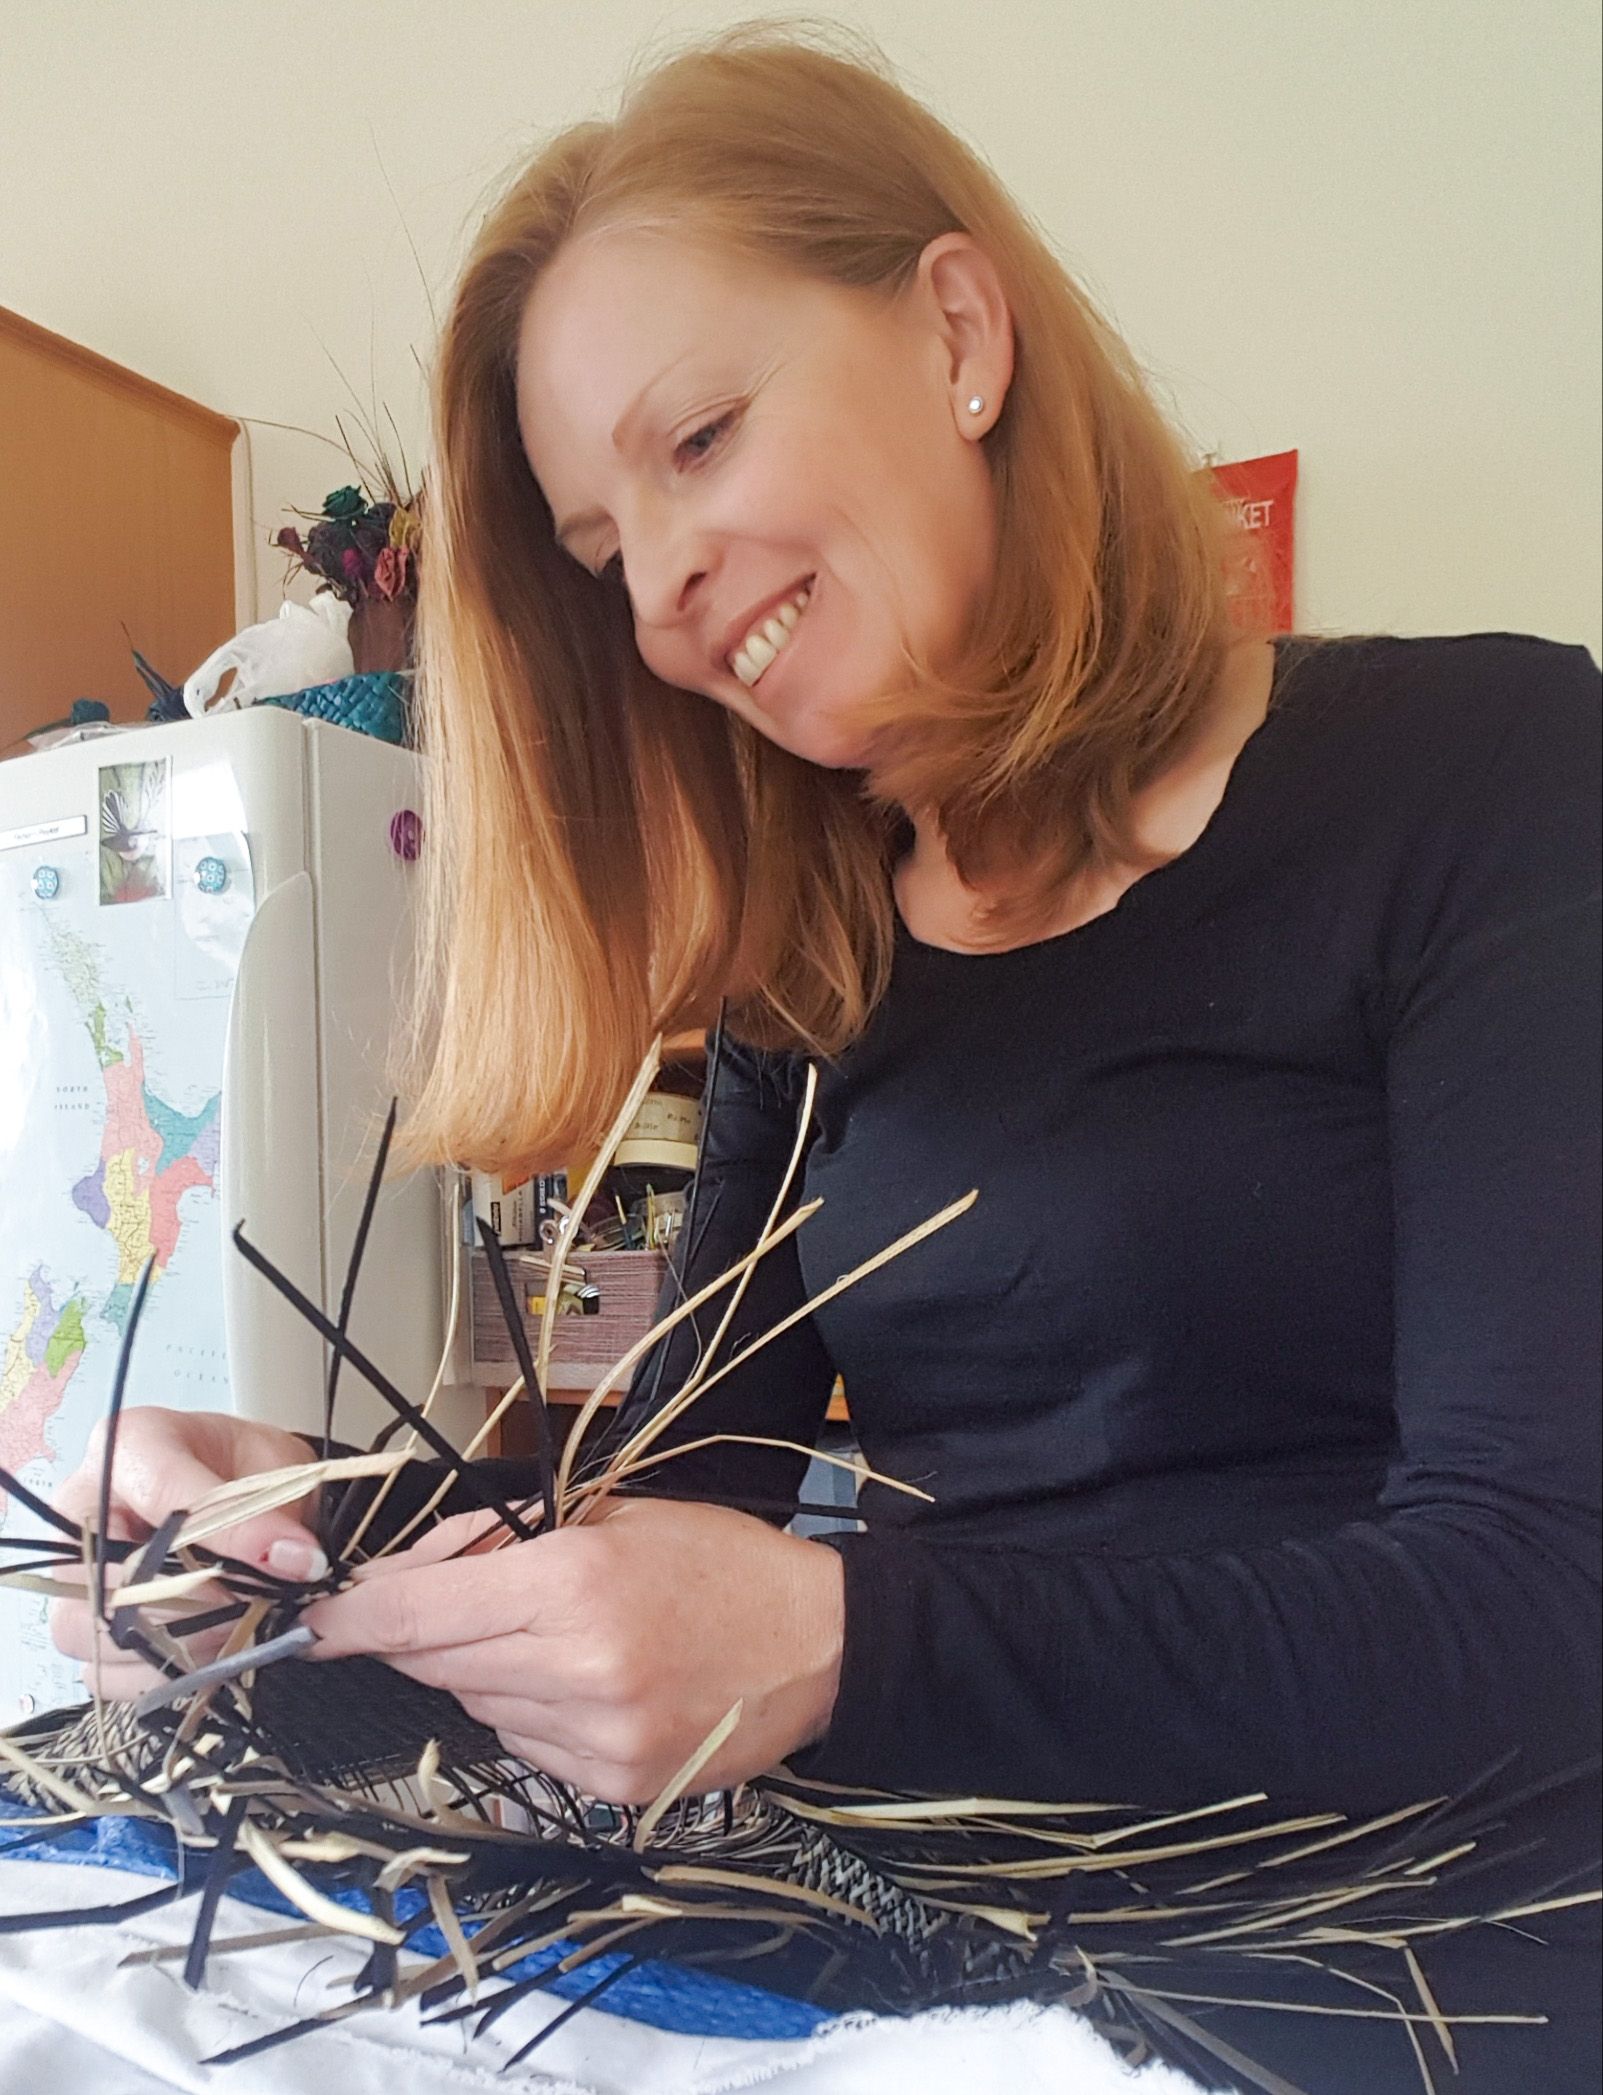
This article was written by Lyn Davidson
Lyn lives in Australia and was one of our international students for several years and served as a kaimanaaki/student representative with us, helping to support and encourage students learning to weave with the Hetet School of Māori Art.
Lyn says: "When I first moved to Canberra, Australia, it was really difficult to find harakeke, and when I did find some, I wasn't able to harvest from those particular plants but was able to gather some seeds.
Although it is never a guarantee that harakeke grown from seeds will turn out to have the same weaving properties as that of the parent plant due to the effects of cross-pollination, it might be a good option (or the only option) for those living in an area where harakeke is scarce.
It is worth a try and there is hope and magic in growing anything from seed!
The following article is a combination of my own tips and those of fellow HSOMA student Huia Trollope, the glorious internet google and recent success sprouting babies!
Happy weaving xx"
1. Soak the harakeke seeds in luke-warm water overnight. It is ok for the water to cool down to room temperature.
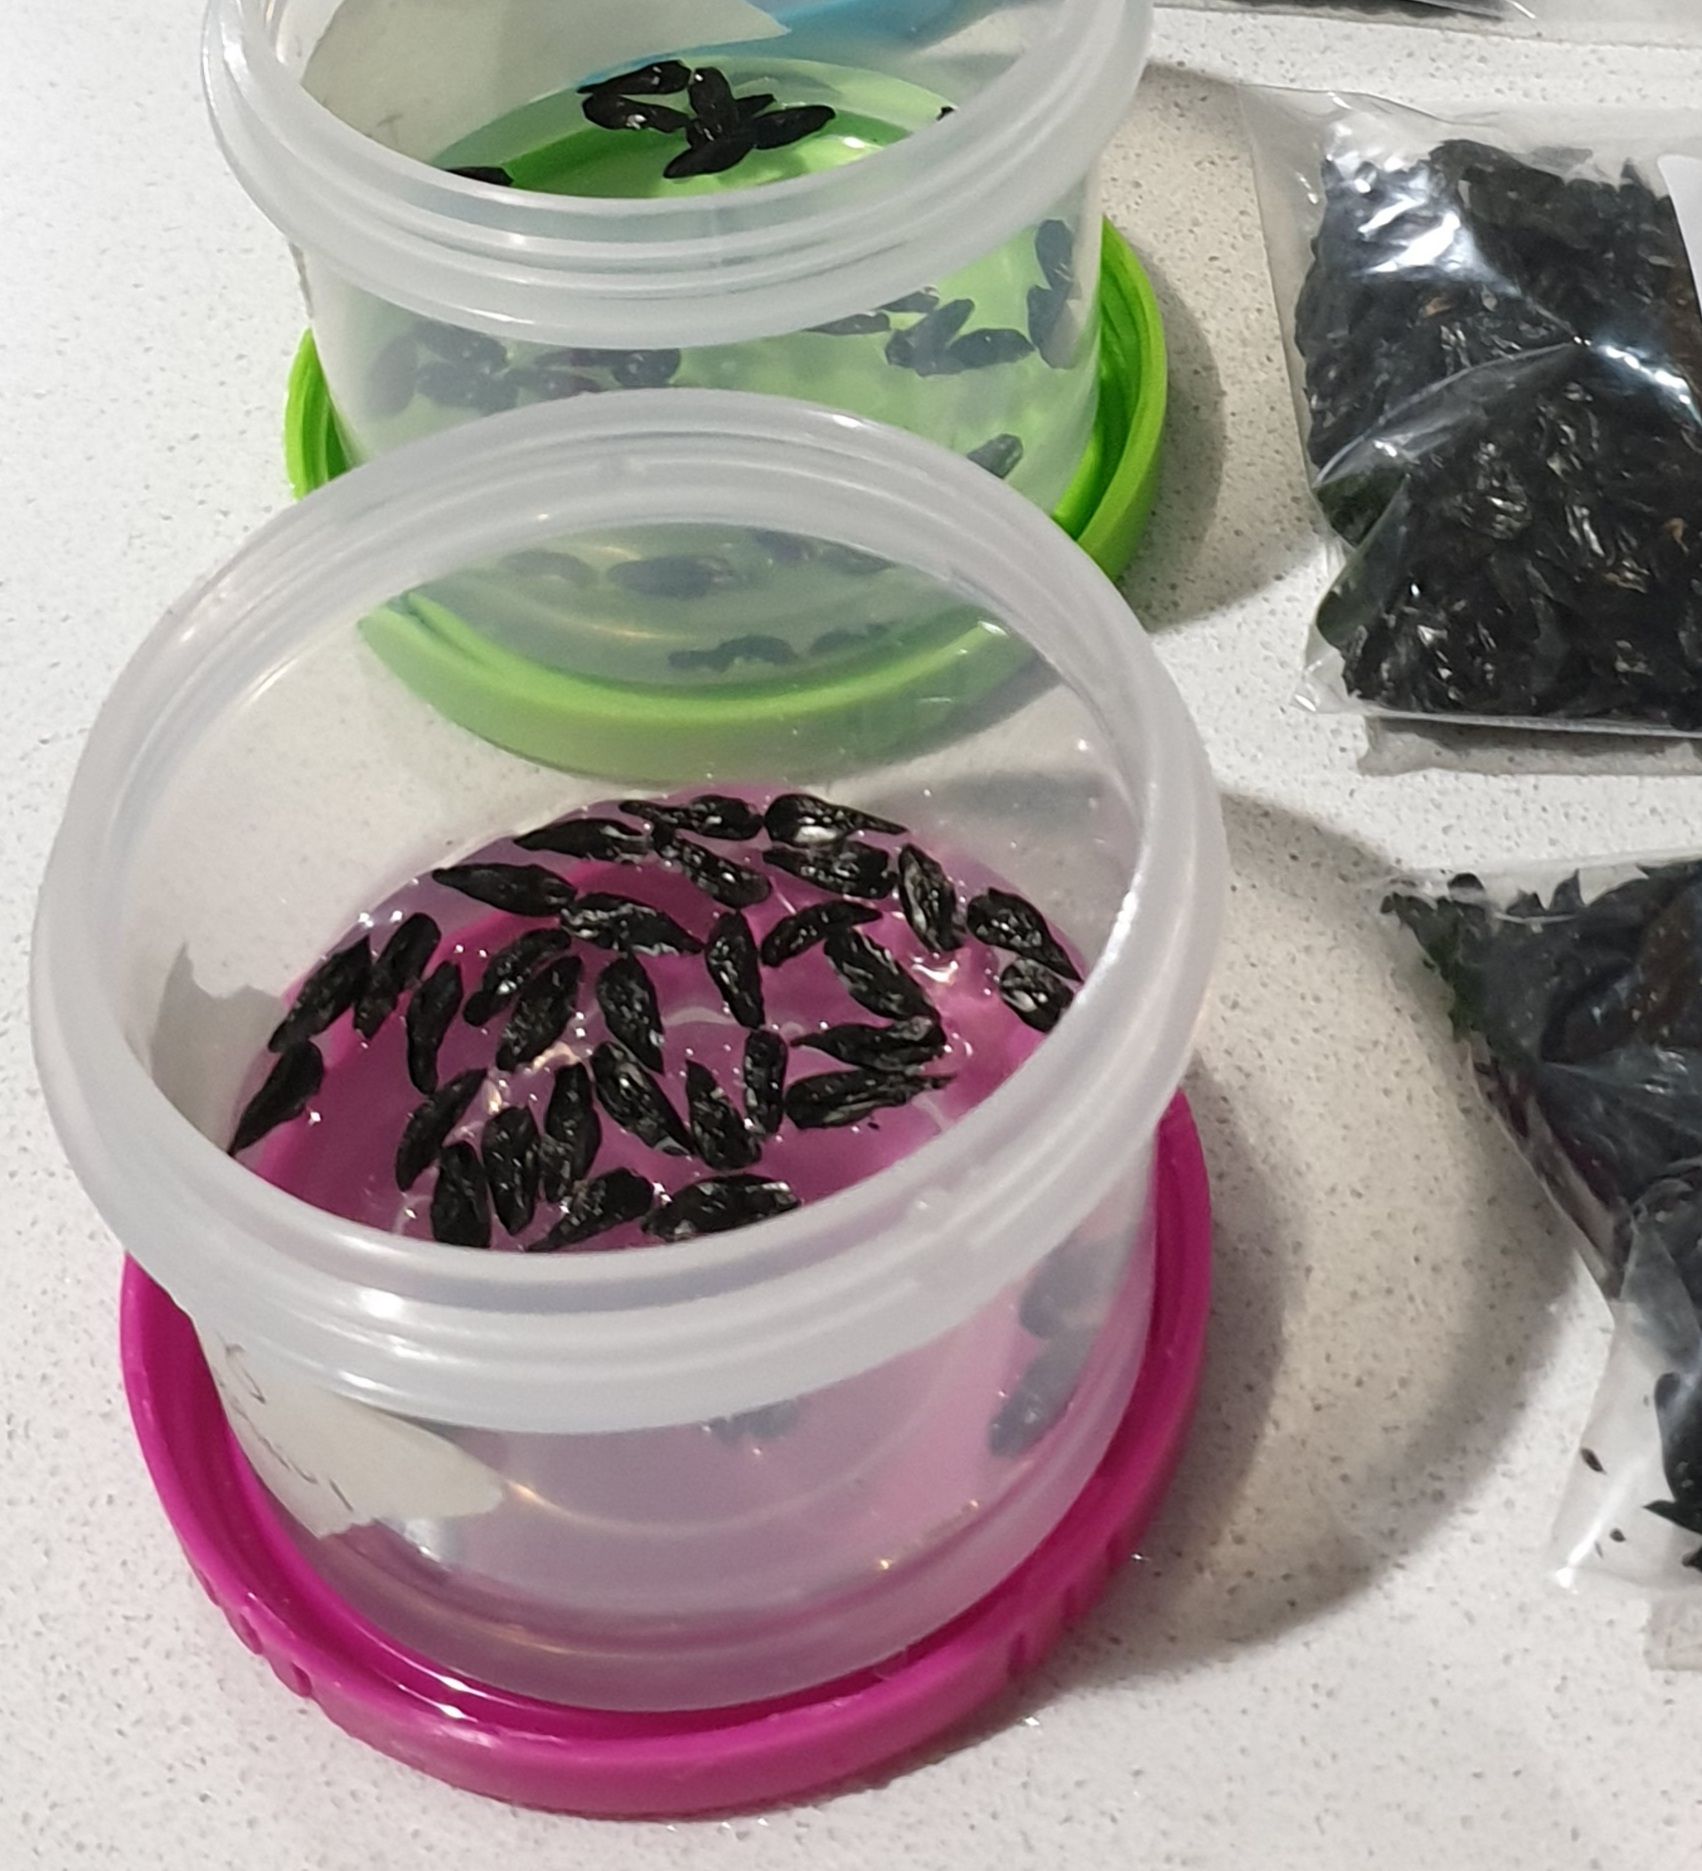
2. The next day, soak some sphagnum moss in water, then drain so that it is moist but not dripping wet. Lightly squeeze out the excess water. If you do not have sphagnum moss, perhaps you could try kitchen sponges or just folded up paper towel??? The sphagnum moss is less likely to go mouldy though.
3. Put the damp sphagnum moss into a container and cover with a piece of moist paper towel.
4. Drain the water from the seeds then place the seeds on top of the moist paper towel and cover with another layer damp paper towel. The paper towel is there to stop the seeds becoming lost in the sphagnum moss and help keep the seeds in a dark, damp environment
5. Put a lid on the container and pop it into the fridge for up to 12 wks to “simulate Winter”. (6wks min, 8-10 wks is good, 12 wks is great if you can wait.) If you live in a very cold climate, the containers can be left outside in the cold weather but away from direct sunlight, perhaps even in a box if they need further protection from light, or animals or pests.
6. Check on the seeds every now and then to make sure that the sphagnum moss remains moist (not dry and not too wet). You may need to change the paper towel and rinse the sphagnum moss occasionally to reduce the chance of mould growing.
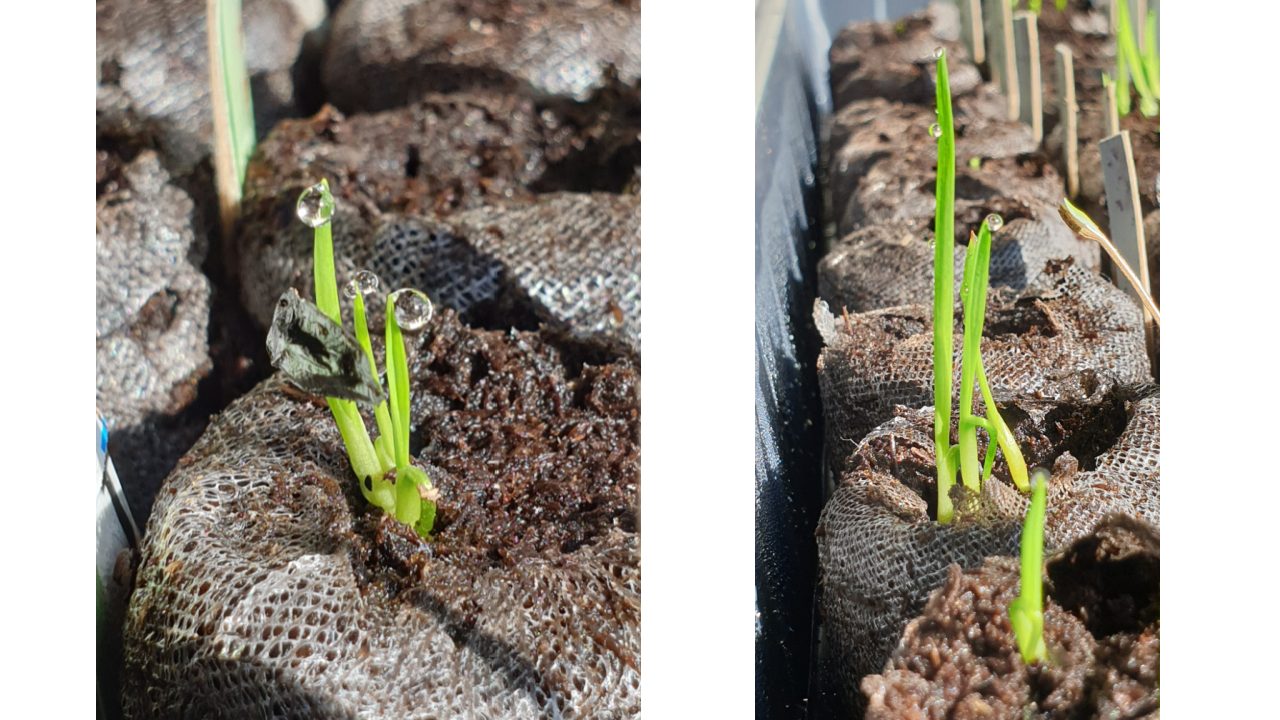
7. When “Winter” is finished, plant the seeds directly into seed raising mix ensuring they are only lightly covered. Keep the soil/seed raising mix moist while waiting for the seeds to sprout and while the seedlings are small.
8. Alternately you can plant the seeds into peat pots or cocopeat pots – and keep moist. These can be kept either inside or put outside but not in direct sunlight.
9. I have found that the most important thing for successful germination is for the seeds to be kept moist (not too wet and not dry) during the whole process and to simulate Spring with reasonably regular temperatures. An average day time temperature of 18degrees seems to be a nice temp for raising seeds. My experiments over several seasons with seeds from various varieties of harakeke yielded little to no difference whether I kept seeds inside or outside my house although keeping them inside meant that I was able to provide a reasonably stable temperature (away from the frosts of early Spring) and they sprouted faster. The seeds kept outside grew just as well but did take a little longer if it was colder weather, however I do not own a greenhouse, which might be an option for you.
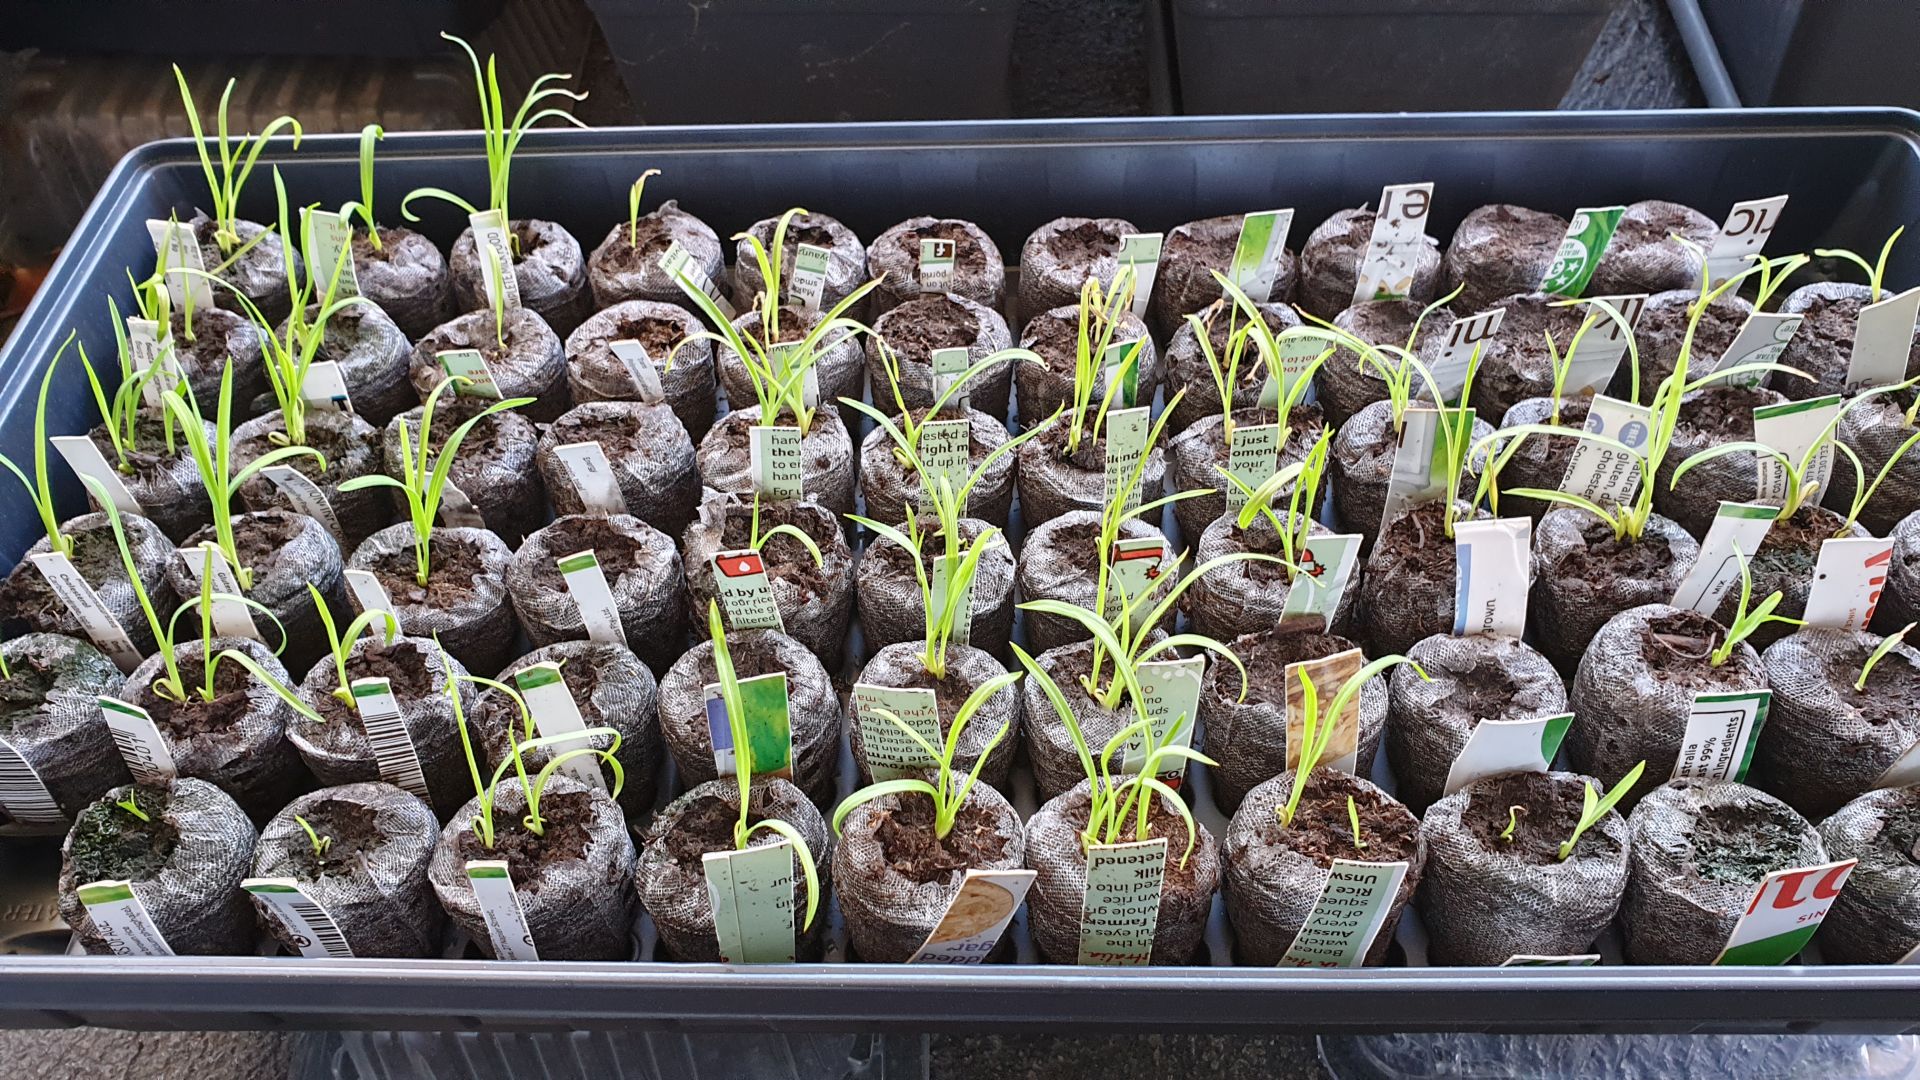
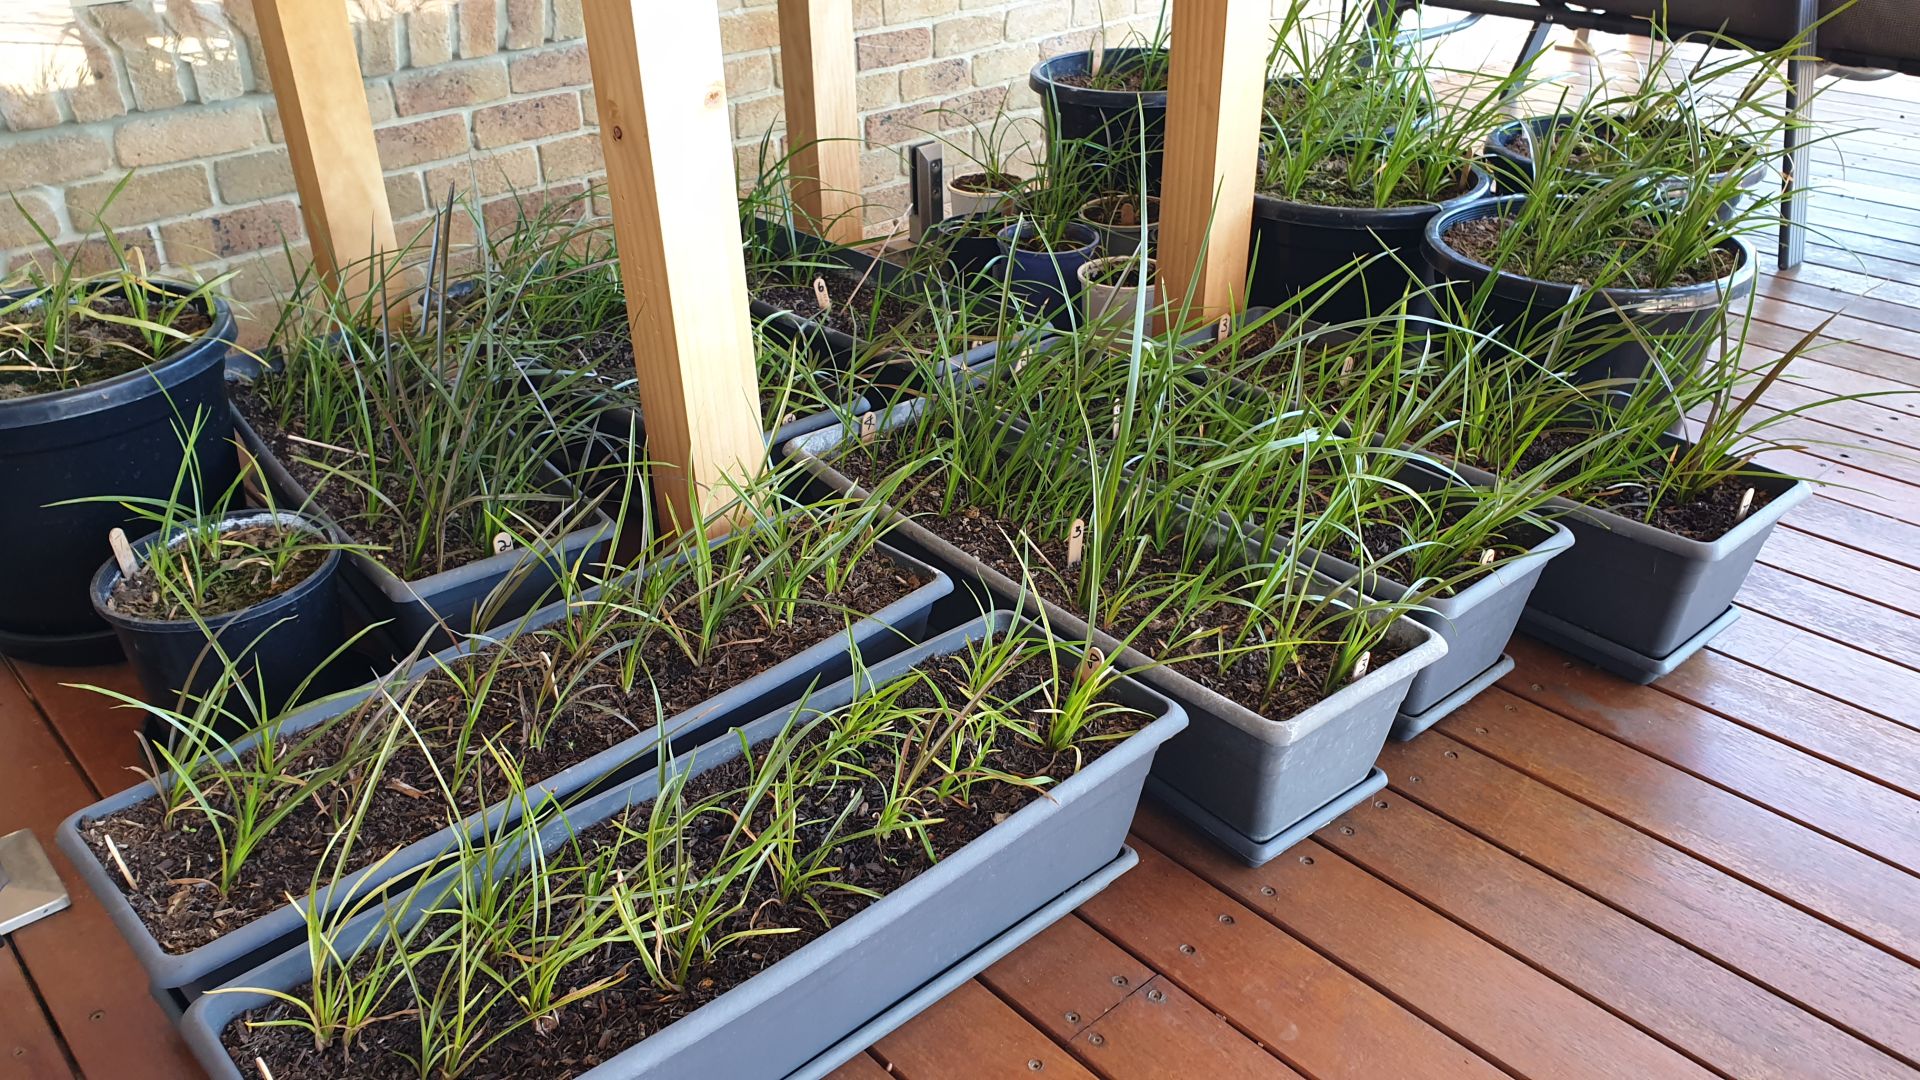
10. Another surprising result was that the seeds seem to have a higher success rate of sprouting and that the seedlings grew better if I planted 2 or 3 seeds together in the same little peat pot or in the same hole if placed in a very small pot of seed raising mix. I have also used the small trough shaped planter pots to plant rows of seeds with great success. With any of these methods, the harakeke seem to love being together so I don’t separate them until they are older and stronger.
11. Seedlings should be kept in indirect light and gradually moved to have morning sun, and then eventually full sun when they are “big enough” This works in the Canberra climate where the sun can be quite harsh and seedlings are very tasty for local wildlife or pests, however you may find that these tips should be aligned with other practices suited to your climate for best results. Seek out knowledge from your local garden club on what they find as “best practice” for raising seeds.
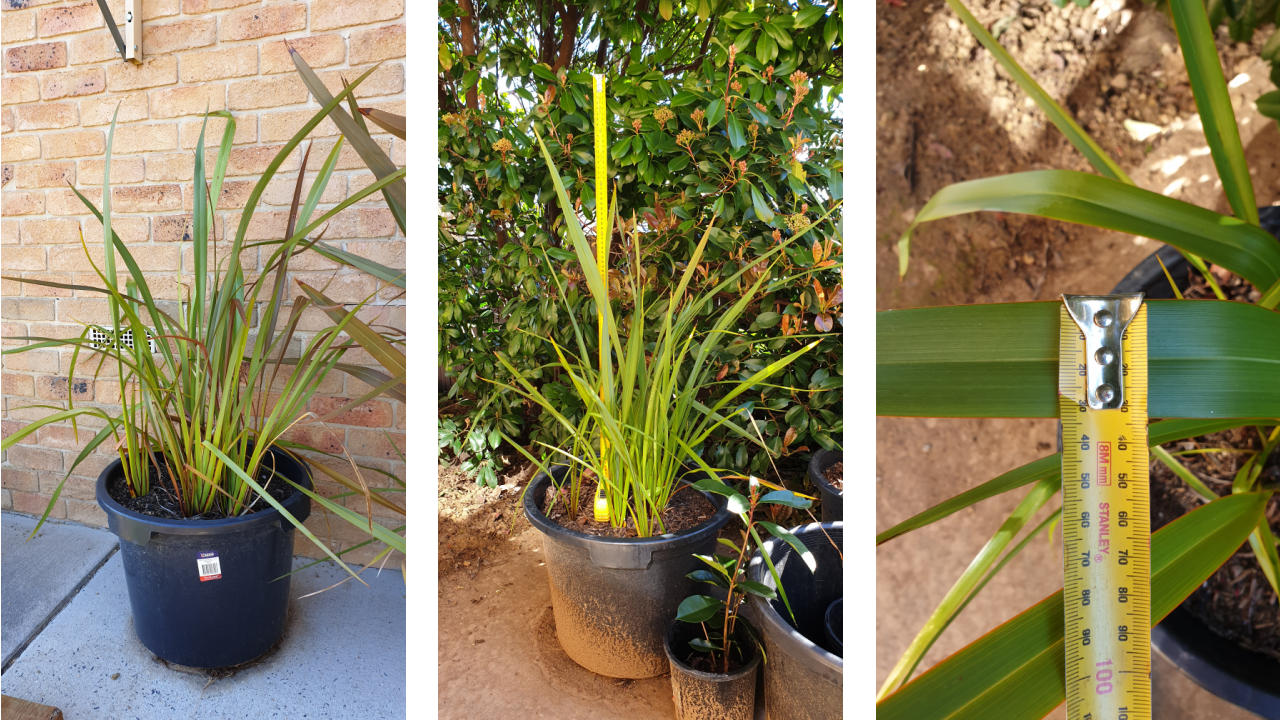
12. Protect your precious baby harakeke from severe heat, frost or heavy rainfall/storms as well as animals or slugs or other insects that delight in the soft new leaves. Nurture your seedlings, and enjoy watching these babies grow. I really do love watching my babies grow and seeing what potential they hold for weaving as they get bigger.
Notes: Seeds can be collected when the seed pods are ready to open, or have started to open on the korari.
You can also check out the
Manaaki Whenua website for further information about harakeke.
Our thanks go to Lyn Davidson who wrote this article.
Ngā mihi nui ki a koe, Lyn.
We're sure this article will help many weavers around the world who don't currently have a source of harakeke to weave with.
Photographs courtesy of Lyn Davidson (pictured below).